This week I’ve been working on the paper mache sculptures. It’s brought back a lot of good memories. When I was a kid I used to play “School” with my older sister and cousins, and one of the fun projects we did was make paper mache piñatas using balloons. We’d inflate the balloons and use scraps of newspaper and homemade paste made out of flour and water. We then glued the paper to the balloon, let it dry and paint it the next day. I remember painting my piñata to look like a hot air balloon, with vertical stripes in colors of the rainbow. I don’t recall if we ever actually used the piñatas or not, but I do remember how much fun it was working on them.
The second time I was exposed to paper mache was in college when I took a class called Mixed Media. I signed up for the course thinking it was 2D mixed media (when you use more than tree medium in an artwork its called “mixed media”) but to my surprise the class was all about 3D art. It was a really fun class, and one of the projects we did was to make a paper mache copy of a kitsch object. I made a copy of a Halloween glass figurine. I went on to do a few other projects involving paper mache techniques over the next couple years and making some collages, etc. but its been well over 10 years since I’ve used this technique. I’m not sure why I decided to do it again for this series, but I definitely imagine seeing giant food sculptures would be fun!
 |
| Paper Mache kitsch sculpture I made in college. |
 |
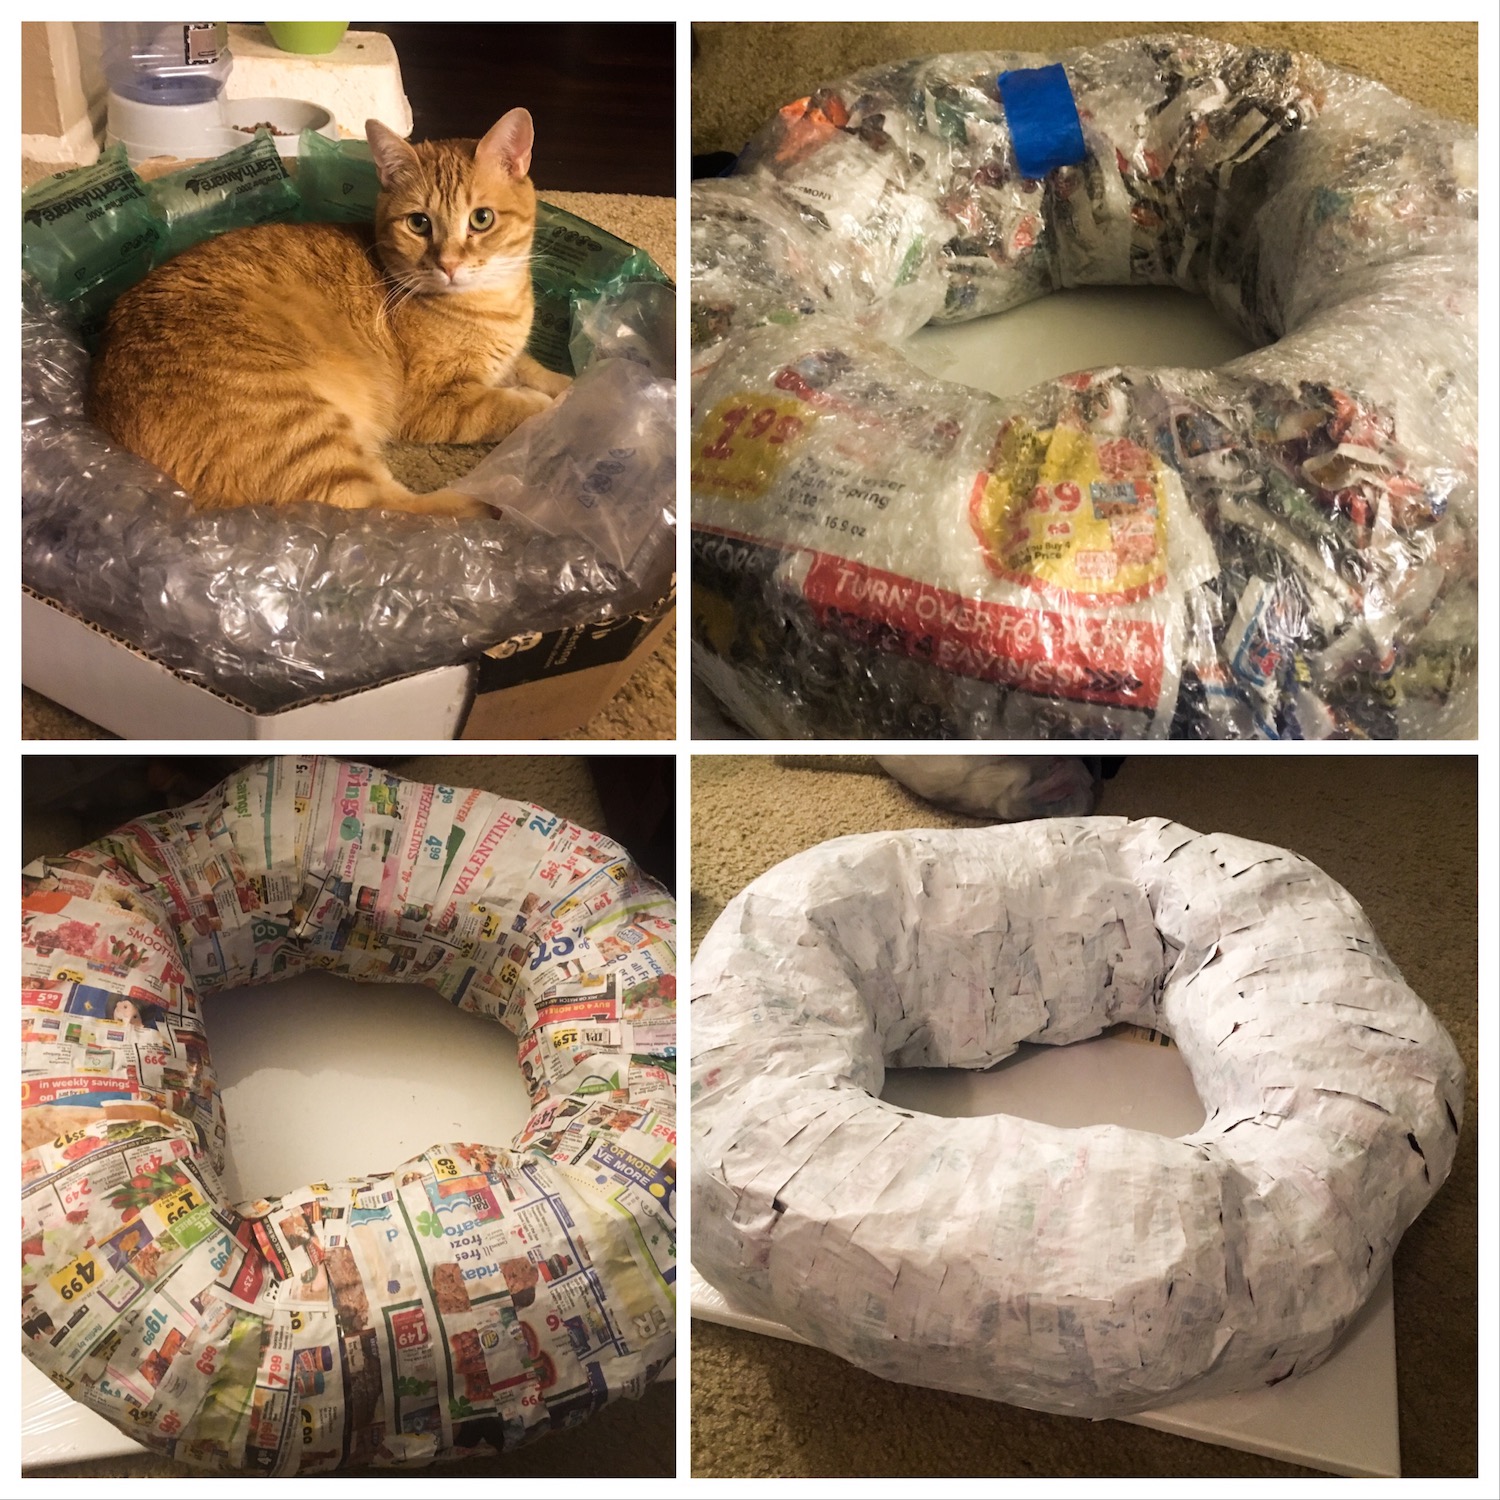
| From top left to bottom right - I made the donut shape using a cardboard box and bubble wrap I had in the closet. Mr. Gold had one of those "if I fits, I sits" moments. Then I added another layer of paper and more bubble wrap. I glued the strips of paper I cut up last time. I never knew how many different types of glues I had around the house - Elmer's school glue, Modge Podge craft glue and even some sequin glue. I found another tube of cheap white paint in my art supplies so I used that for the primer layer. All of the materials used were found objects and supplies I have accumulated over the years. |
 |
| The sundae sculpture - I used the same steps outlined above except for this one I added more cardboard to make the sides of the glass and the base of the cup. I was a little worried of the sculpture being top heavy so I hot glued some river rocks to the inside of the base. The wafer sticks are just plain cardboard rolled up and glued to make them look like little sticks. Now its time for the painting part! |


Comments
Post a Comment